Upgrading a Magellan Maestro GPS Firmware – Install Firmware
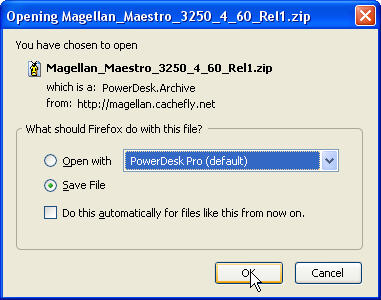
Before you attempt this step you should have completed the directions in the prior post to download the latest firmware for your unit off the Magellan web site.
When you completed the final step in obtaining the firmware upgrade (shown above) it was saved to your PC hard drive…. you remembered where…. didn’t you?
My Firefox download manager is set up to save downloads to the desktop where I can see them easily.
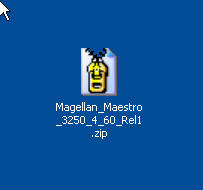
After it completes the download, you should have the file… here is the icon on my workspace/desktop.
You may want to create a directory to put the extracted files, so create it first, but since there are only two files, if you want to extract them directly to the desktop it isn’t a big deal. You can just delete the later, or save them to another place, but I doubt if you would ever need them again.
It is a self extracting .Zip file, so if you “double click” on the icon, it should begin the extraction process.
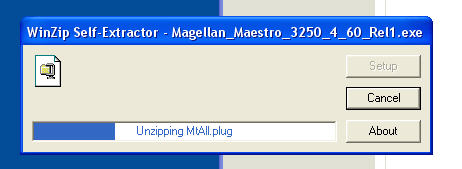
Once it unzips it will start the install process.
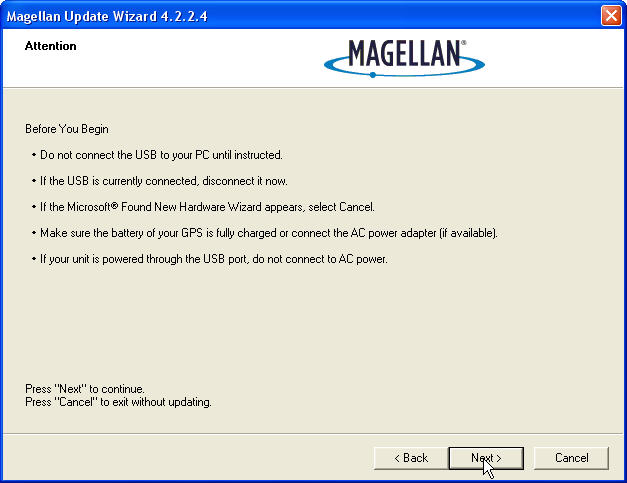
Do NOT have your unit plugged into the USB cable at this time! I think if you do, not only will it trash your GPS, it will reformat your hard drive.
Do NOT have your unit plugged into the USB cable at this time! I think if you do, not only will it trash your GPS, it will reformat your hard drive. Set your VCR time ahead two hours, turn the temperature up in your refrigerator so your beer is warm, it will also cause gas prices to go above $5 a gallon and melt the polar ice cap…. and you do NOT want to be responsible for all that! Leave the GPS unplugged!! Until it says to plug it in.
The defaults should be okay to leave as they are, so just click on “Next”.
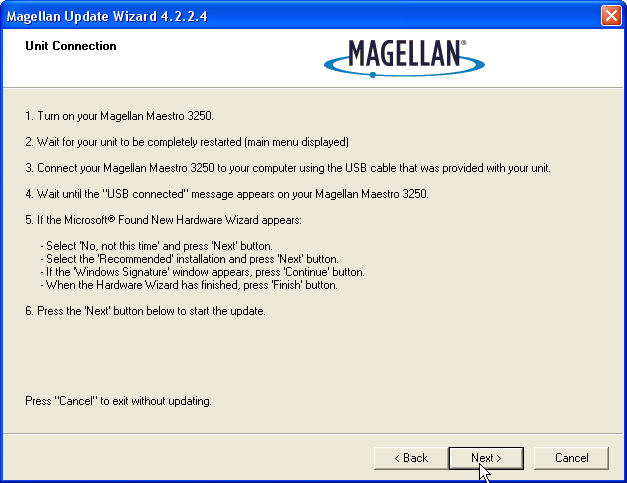
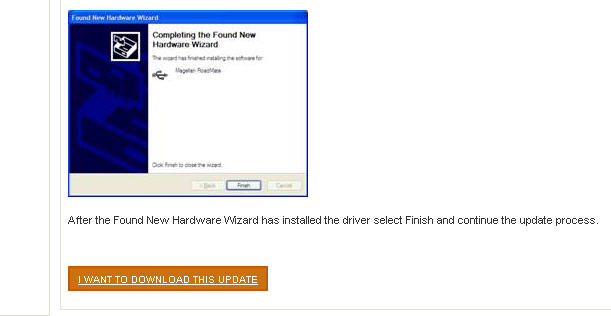
When you get this screen it is okay to plug in!
Read carefully and take heed.
- Make sure the unit is fully charged
- Make sure it is turned on, and all the screens have opened so you are at a “street View.
Then, and only then, click on the Next Button.