In the previous post in this series I explained how to create multiple .GPI files so you can edit just that file then update it in the GPS without going through every .CVS file that you have. This post explains how to add the files to your GPS unit.
Plug the unit in to your PC using the USB cable.
Hopefully after a few seconds (?) you should get the typical Windows (Oops, you are using an Apple? You are on your own…..) pop up that asks what you want to do now.
Select the “Open folder to see files” option. You may have a better way of doing this, I use Power Desk Explorer myself, but for simple explanation will use the Windows Explorer for now.
You should see a list of directories and files listed.
I made a new directory (folder) “Garmin GPI”.
Open another Windows Explorer pane. Find the directory in which you earlier created your custom GPI files. (Maybe the same directory name?)
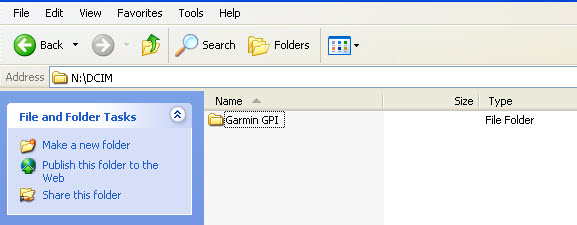
Drag all the files from the directory on your PC to the directory on your GPS. (Or… your SD card directory if you are doing it that way.)
You can move these files to an SD card and then insert it into your GPS unit also. When you turn the GPS on it will read the card and ask “If you want to make these available when the card is not inserted” (or something like that.) If you say “Yes” it copies the data to the GPS memory. At this point you could remove the card and the GPS would retain the POI points. Thats great, unless you also happen to have MP3’s or pictures on the card you want to listen to or view later in which case they are not available. You could leave the SD card in the unit, but then an interesting thing seems to happen… all your POI files will appear to be duplicated! The unit remembers that you added the custom POI’s to it’s memory so reads them, but then it also reads the card that is inserted and presents what it finds there also…. so you have two of everything. Initially this caused me some confusion, like what happened here. So I deleted everything and started over… after several times of the same thing happening I figured it out. Slow but get the job done…. usually.
So, if you select the “Add” option when presented you may want to remove the SD card, delete the .GPI files from it, then put it back in. I think that should resolve any duplicate issues.
Using your new POI files.
Start the GPS.
Select “Where To?”

Use the “Down Arrow” to go to the second page of options.
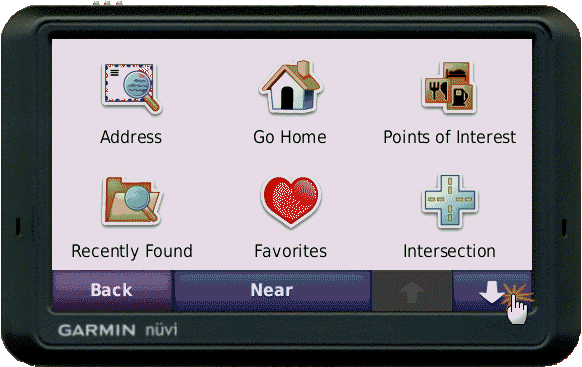
Tap on “Extras”.
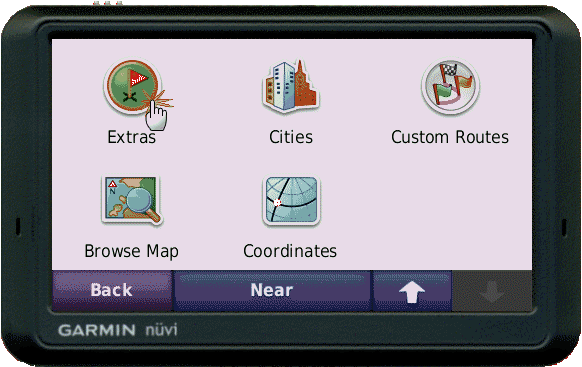
Tap on “Custom POIs”
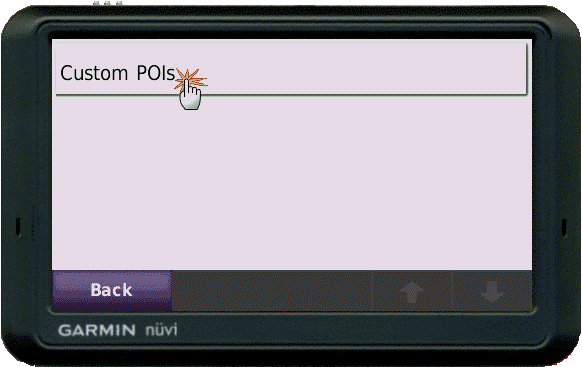
You should see a list of all the custom POI/GPI files that you have created an uploaded to the unit.
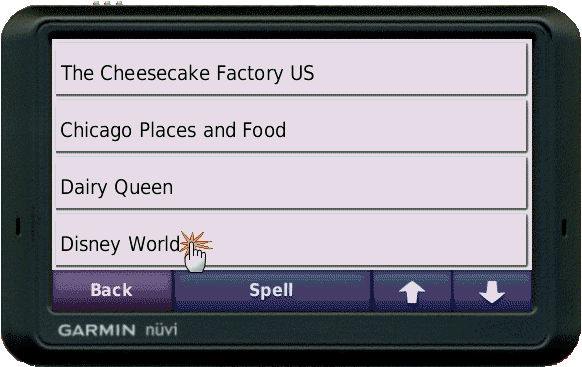
Select the one you want (Here it was Disney World)
Now you will see the individual locations in the file.
Just tap on the one you want directions to!
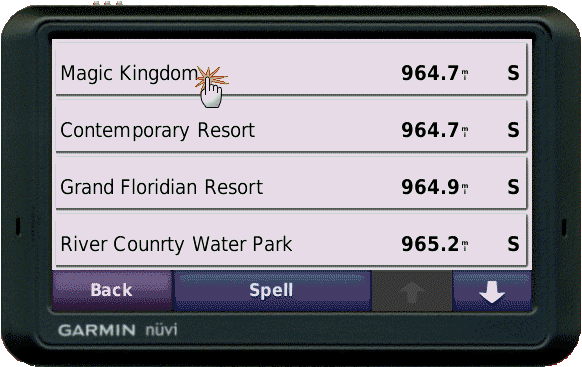
I want to go to the Magic Kingdom in Disney World Orlando… about a 964 mile drive it looks like.
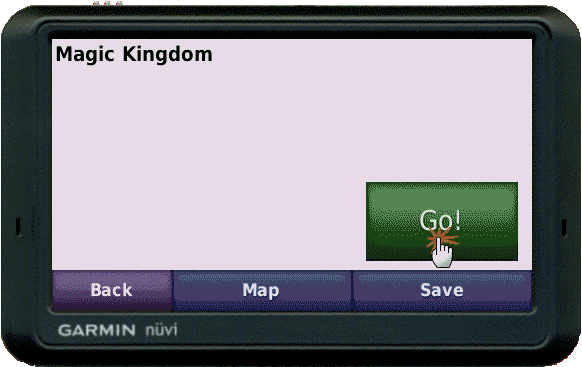
Tap on “Go!” and it will calculate and program the route.
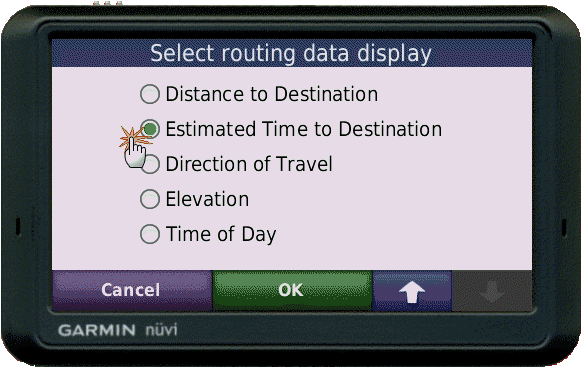
You can also select one of these options to display at the bottom of the window.
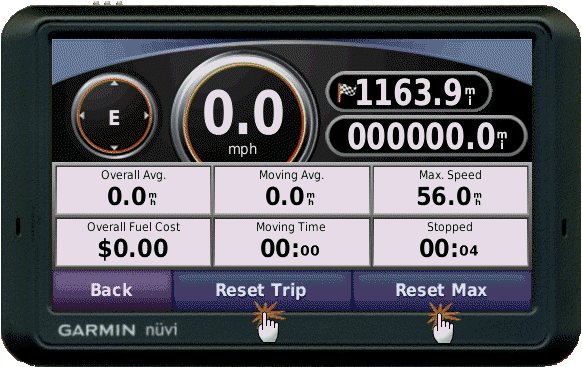
Before you begin your trip go in and reset the Trip Meter! Later you can retrieve the information from here on how far you drove, how long it took and other information. Advanced users can also use the .bin files to create maps on Google Earth and fun things like that.
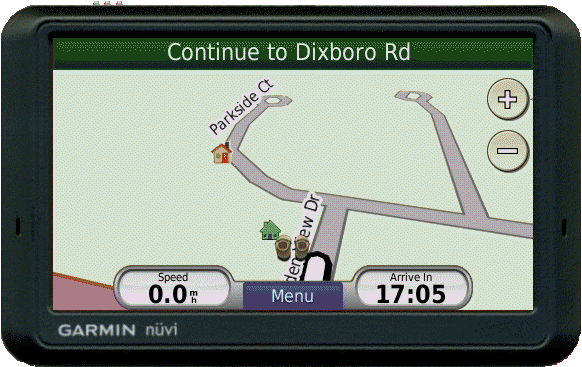
Now you are on your way!