In a prior post I went through changing the size the 360 is displayed using the “Embed code with ID” settings. Some people may find it easier to use the “General” settings in iPanorama to set the desired size of the displayed image. Just insert the “Standard shortcode” and you are done.
Leaving all settings at their defaults, and using the “Standard Shortcode” I get the following for my #9 iPanorama tour.

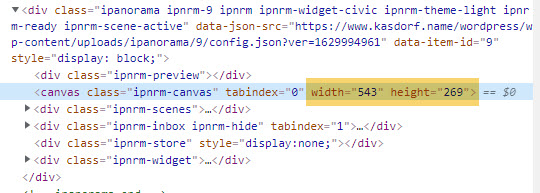
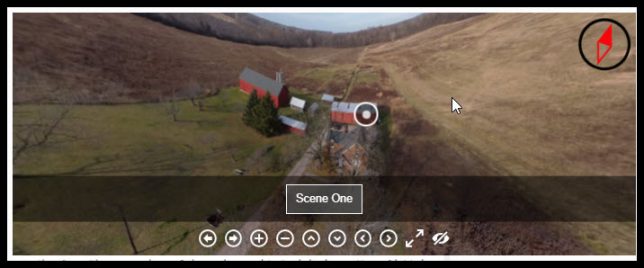
So, it appears that the “default” ends ups 543×269… why, I have no clue.
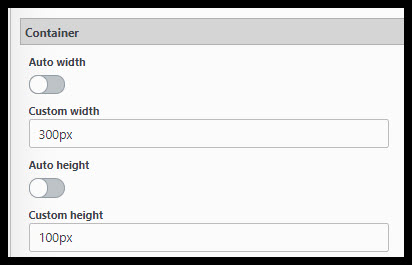
Note: You MUST add the units, in this case it is pixels, so make sure you put “px” after the number!! Or you will get really frustrated trying to figure out why it isn’t working!
Now, to experiment, in “General” settings, “Container”, Turn off Container “Auto width” and “Auto height”, then set them to another value. I used 300px by 100px here.
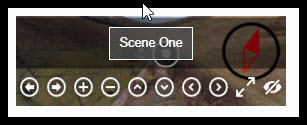
Not so useful at this size! Unless you just wanted people to see the controls!

The actual image comes out at 269×89, maybe to preserve aspect ratios? Allow room for borders? Maybe padding? Again, I don’t know, but it does change the displayed image size. You can tweak the sizes to get closer to the actual display size you want.
Changing the Container size, but only using the Width setting while leaving the height set to “Auto”.

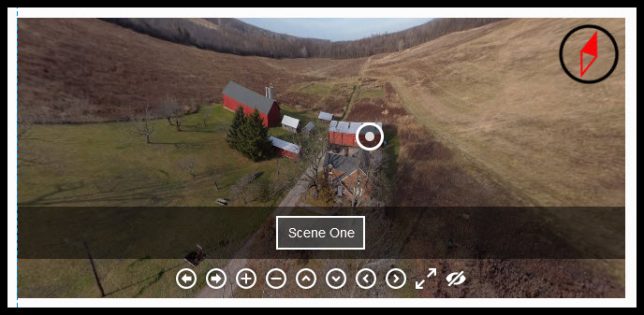
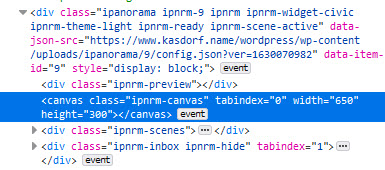
Again, we can see it has changed size, to match the width entered into the Container settings. Not sure where the height comes from!
This is mostly to show that in fact these settings work, and how to make basic changes to them.