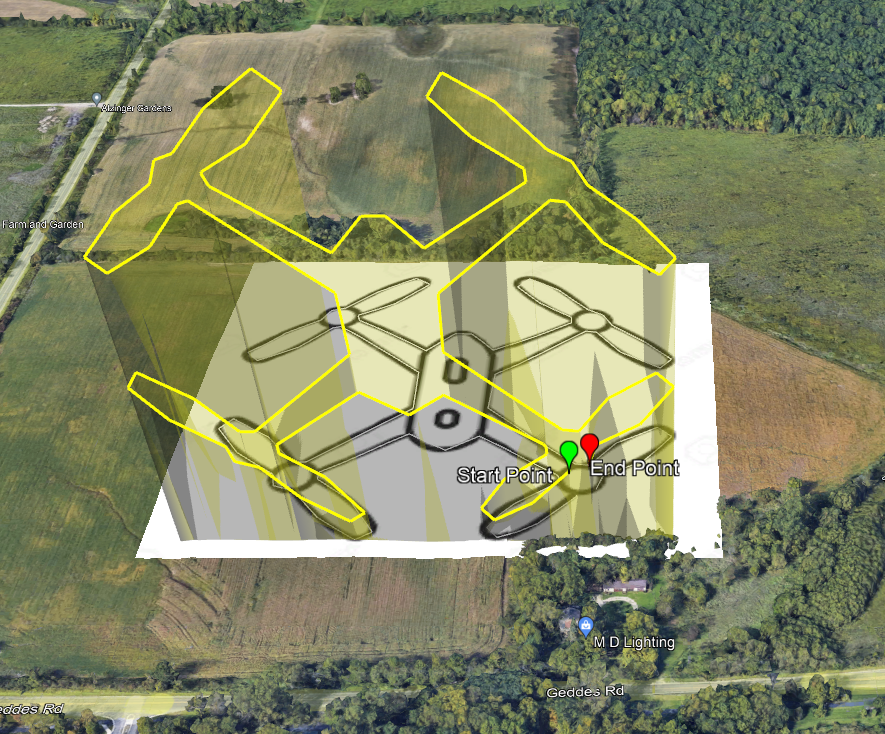
Some of the Mission Planning in Dronelink.The plan produces a route the drone will follow.This will open a rather large file! But it is only 20% of actual file created.
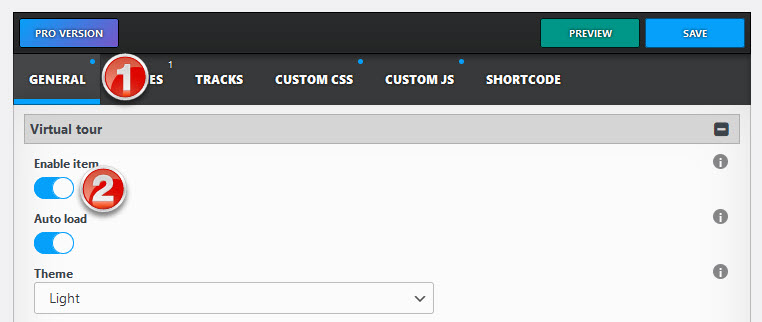
Open iPanorama 360 Project In “General” (1) make sure “Enable” (2) is selected.
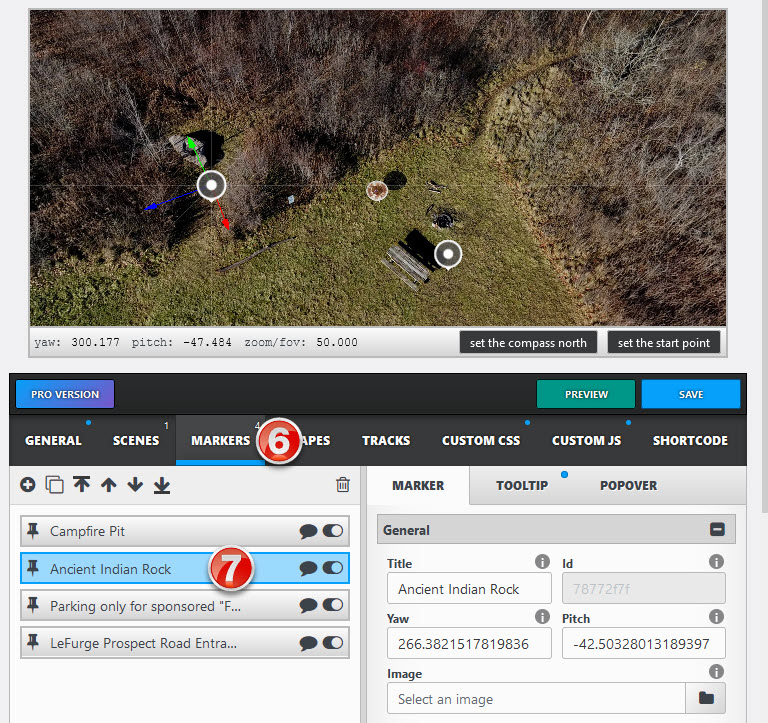
Select “SCENES” (3) Select the specific scene you want to work in. (If you have multiple.) (4) Make sure it is enabled (5). This assumes you have already made at least one scene at this point.
Go to “Markers” (6) (either add a new Marker, or make sure you actually select an existing marker (7) in the left pane. It will be blue if selected.
When you add the Marker, an icon will appear in the preview. Move it around with the mouse to where you want your ToolTip to show up.
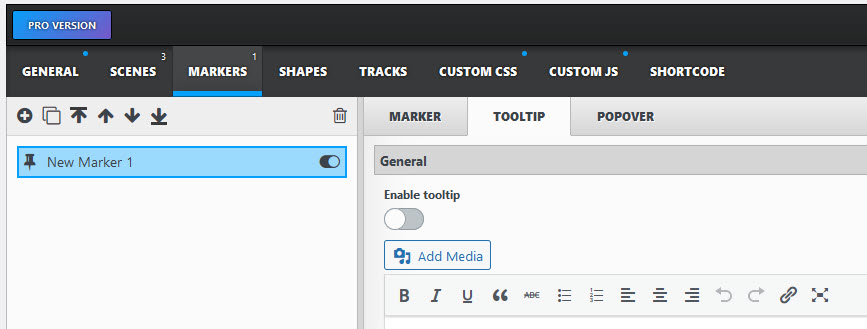
Above the right pane you should see the “ToolTip” button. (8) (Below) Click on it.
NOTE: The “ToolTip” is associated with whichever “Marker” you have selected. You will only see THIS “ToolTip” if you select the same Marker later.
Each Marker can have one ToolTip, (and PopOver) but as far as I know you can have unlimited Markers.
Make sure you “Enable it” (9) (11) Type in your text here. i.e. the name of the room, what you are pointing out, etc.. (10) In the preview window will be the “target” to allow you to move the ToolTip where you want it. i.e. on the door to the room you want to enter, or an interesting items in the panorama.
Sometimes I need to zoom far out so I can find the ToolTip target, then move it to the correct area, then zoom back in. Best way is to pan the top view until you see where you want the marker to be placed, then create the ToolTip.
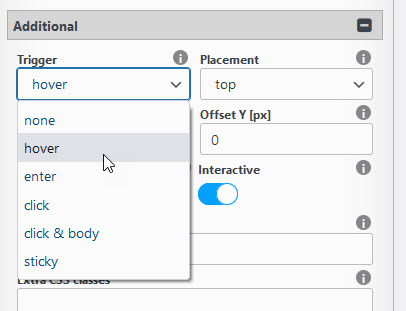
Below that click the “Additional” button. Then click the “Trigger” button, select the action you want to happen.
Experiment to see what they do.
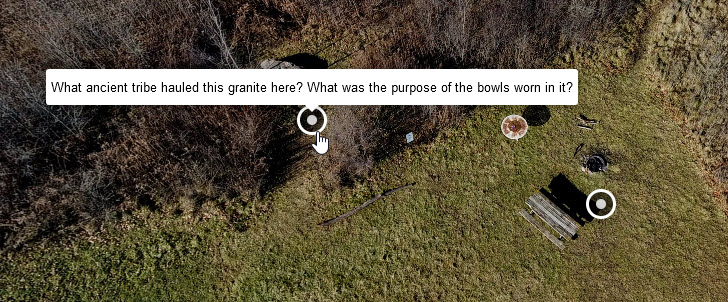
If you now go to “Save”, (16) and then “Preview” (17) you should get a new browser window with the iPanorama project you made appear. This is what your ToolTip should look like now. Depending on “Action” you used when you click, hover, etc. the text you entered should appear.
If you want to go another step you can add “PopOvers”. They are great for showing additional detail in your scenes.
Continue with the Scene-Marker that you want. Then create the Popover (12).
Remember like the ToolTips, they are dependent on the Scene-Marker you select in case later you cannot see this ToolTip/PopOver, you are probably in the wrong Scene.
Make sure you enable it. (13). You can add more simple text, but pictures make it happen! Click “Add Media”, then select the photo you want. You can still add descriptive text if you like.
Save everything, and preview it. Click on your ToolTip and you should see your close up photo! (Or whatever you added into the PopOver.)
In the main 360 view, the rock is seen, but you cannot really tell what it is. The Popover can show this in better detail. (But my photo isn’t so good because you cannot really tell the scale of this thing. It’s actually fairly large!)


 NOTE: The “ToolTip” is associated with whichever “Marker” you have selected. You will only see THIS “ToolTip” if you select the same Marker later.