Specify opening scene in iPanorama.

This entry is part 5 of 8 in the series iPanorama

Using iPanorama 360 to create virtual tours? Would you like to open a specific scene at times?

First, if you just want a specific scene to always open first, you can rearrange the scenes using the UP/Down arrows
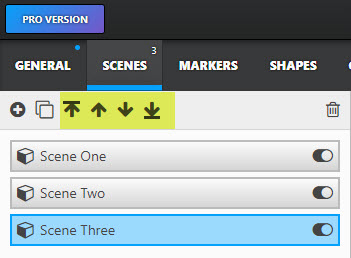
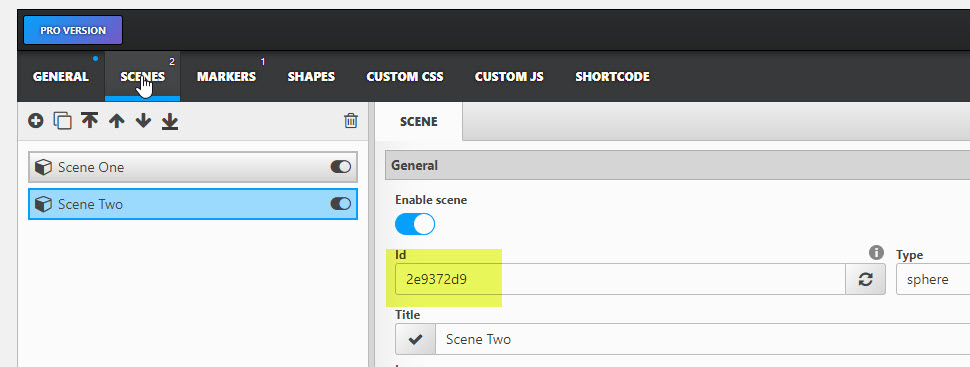
But if you just want to look at a specific scene for whatever reason you can use the short code with the sceneid. Note that each scene has a unique ID… yes it’s obvious, or you couldn’t specify the scene! Just watch which scene is highlit before you grad the Scene ID!
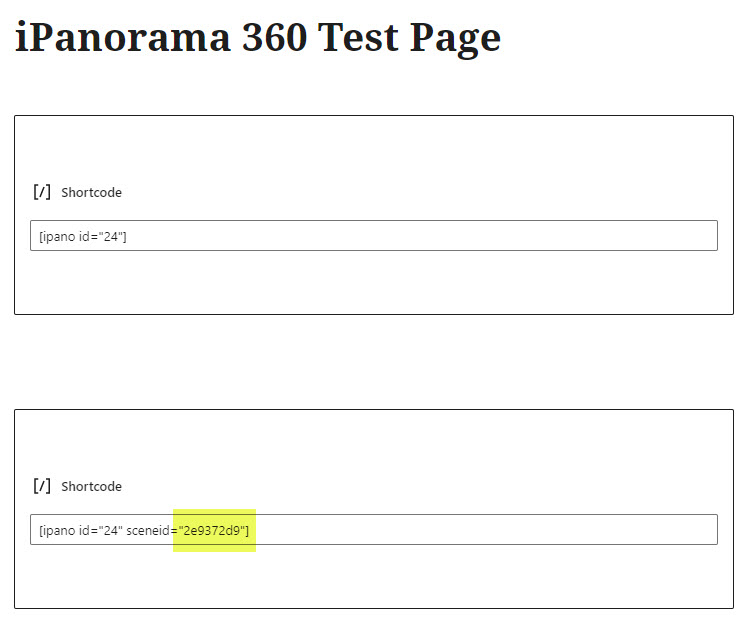
You should end up with the following.

This one is the default opening scene #1.

This one is using the custom sceneid, and you can see the “Scene 2” is highlighted, and different than the default.

I could see a use for this. One thing you could do is to create a page with buttons, then link each button to a different scene. While there are built in “widgets” with different styles, you may want to try and create something to match your web page.

I thought you should be able to use the iframe+URL+ID+SceneID but so far I cannot make this work! iframe width=”560″ height=”315″ src=”https://www.kasdorf.name/wordpress/ipanorama/virtualtour/test-after-upgrade-to-pro” sceneid=”2e9372d9″ frameborder=”0″ allowfullscreen></iframe

Making 360° Tours

This entry is part 1 of 8 in the series iPanorama

I have been playing around with my drone, getting some aerial shots of the local nature preserve. LeFurge Woods Nature Preserve, on Prospect Road, just a ways North of Geddes, and South of Cherry Hill.

I find 360° “Globe” panoramas to be intriguing, and have since back when it was a challenge to stitch pictures together, then make a .mov file, and even to get a player that would work on a web site.

Now it is so much simpler, and the options to make and enhance them are great.

Following is a “Tour” I made to go from one part of the preserve to another using the links inside the panos. Some of the icons you hover over to see information, some you can also click on to see a picture. The “^” icons is a jump to another location. You can go back and forth. Great fun indeed!

Use the icon in the bottom right to go full screen for the experience! Use “esc” to close again.

Playing around with Spiders

Quite some time back I turned off all access to web crawlers. Why? I’m not really sure anymore. I had removed the genealogy sections long ago because I was tired of people griping about it. While everything that was on it was in the public domain, a few did not like to see it aggregated.  One especially threatened me, even though the information came from their local newspaper detailing their wedding, and their upcoming trip to Jamaica…not that is plain stupid. Thieves now know a) there is a house full of shiny new wedding presents, and b) exactly when the owners will be gone and for how long!
I digress.
If you had a prior link to the web page it still worked, but most search engines would never find it. Funny, most web people spend lots of time and energy working on “SEO” to get them higher in the search results! Me, I wanted it hidden. As an experiment I think I am going to restore it, and see how long it takes to get back on, and when in the standing.
So… we’ll see.

Geocaching Degree

This entry is part 2 of 3 in the series Geocaching

Well I was not able (yet) to be awarded a Doctor of Geocaching, but I was successful in getting my “Bachelor of Geocaching“.

Just a little fun thing that “Folboter JAF” does as part of his challenge hides.

You can look them up on Geocaching.com.

GC5CRR1 Bachelors = Got it okay.

GC5CRR2 Masters = Might be possible, at this time I have 29 of the 50 “credits” needed to graduate!

GC5CRR3 Doctors = This is a real challenge for sure. One I possibly will never qualify for… but then who knows.


FTF Magazine

This entry is part 3 of 3 in the series Geocaching

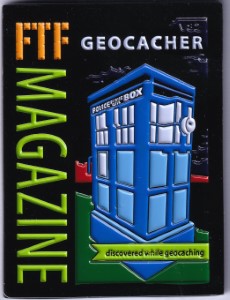
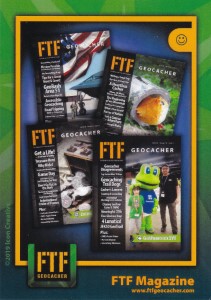
I recently “discovered” FTF Magazine, a Print Magazine for Geocachers. It looked interesting enough to spend a few bucks to get a subscription. With the subscription you get a nice Geocoin that is trackable.

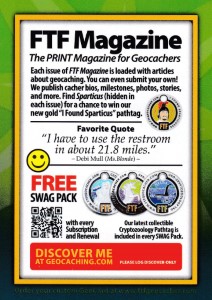
They also send a Discoverable tracking card. I had never seen these until I did some caching down in Ohio where they seem pretty common.


Playing Games – Snag the Tag

This entry is part 1 of 3 in the series Geocaching


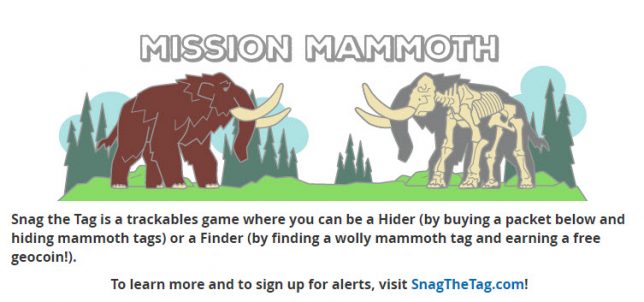
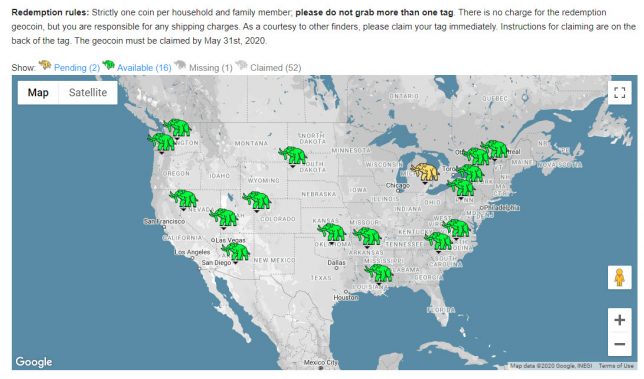
I saw a notice on the Geocaching home page about a program called “Snag the Tag“, so I investigated. On the home page was a link to purchase the “Hider Kit”. There was originally two types available, a large and a small. Since the large was sold out I grabbed a small right away, which was good since they sold out shortly afterwards. This project seems to be in a limited state so far, with maybe 600 (??) tags hidden on this “Mission Mammoth” project. Unlike geocaches these are one time hide/find. The owner hides the tag, some one finds it, takes it to claim online, and it is done. No logs to sign.

Shorty thereafter I received my tags and started to see how to do this. Not so hard.

  • Think of a location to hide the tag.
  • Put the tag in a container.
  • Hide the tag
  • Take some good GPS readings at the location.
  • Go to the website and put the information into the form provided.

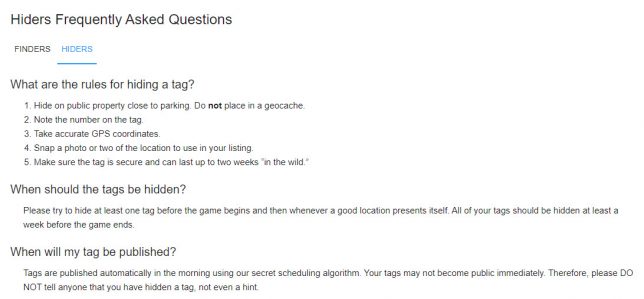
To help they have some FAQ’s:

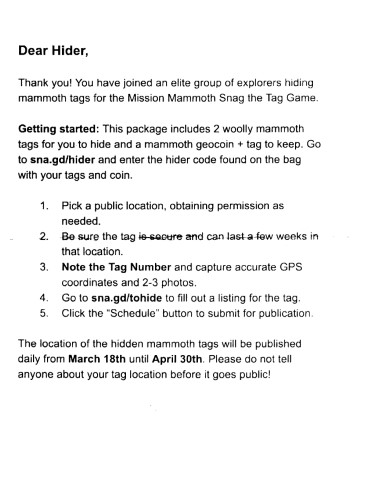
The very brief instructions that come with the coins.
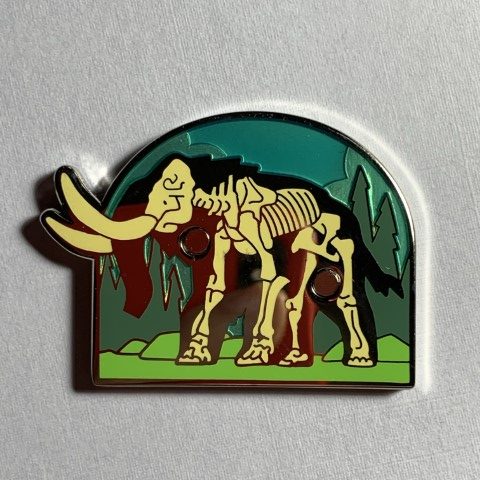
The Front Side of the coin. I believe this is what you receive if you send away for the coin after making the find. It’s free, but there may be shipping charge.
The “Back Side” of the coin with the tracking ID.
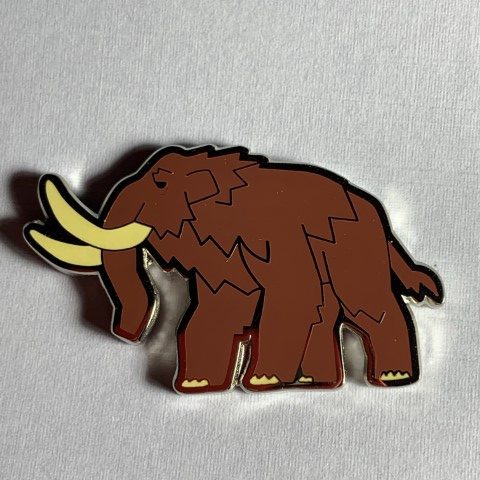
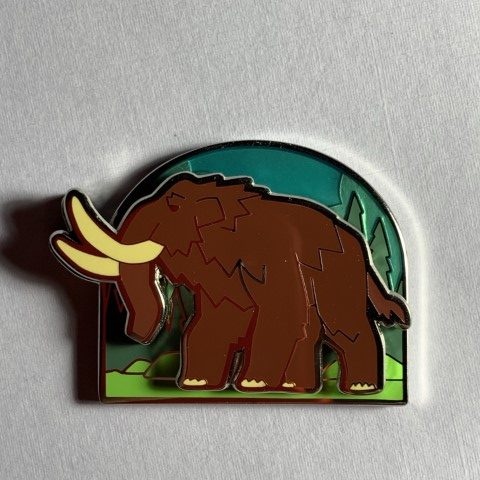
The front of the “Game Piece” that is hidden.
?

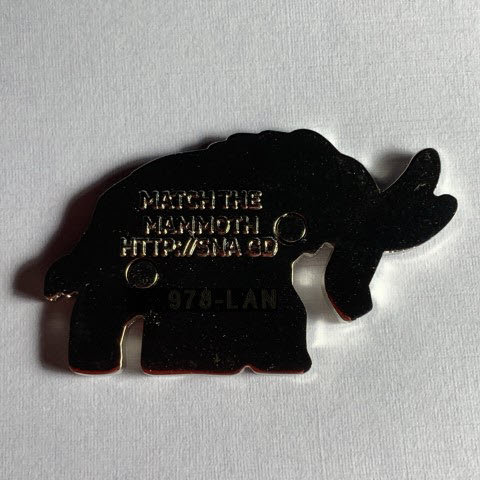
The rear of the “Game Piece”. Note the magnets to attach it to the main piece that you send away for.
This is the coin with the Woolly Mammoth magnetically attached to the “Front” of the coin shown above.